Stock Photography - Golf Club Concepts - Creation Breakdown
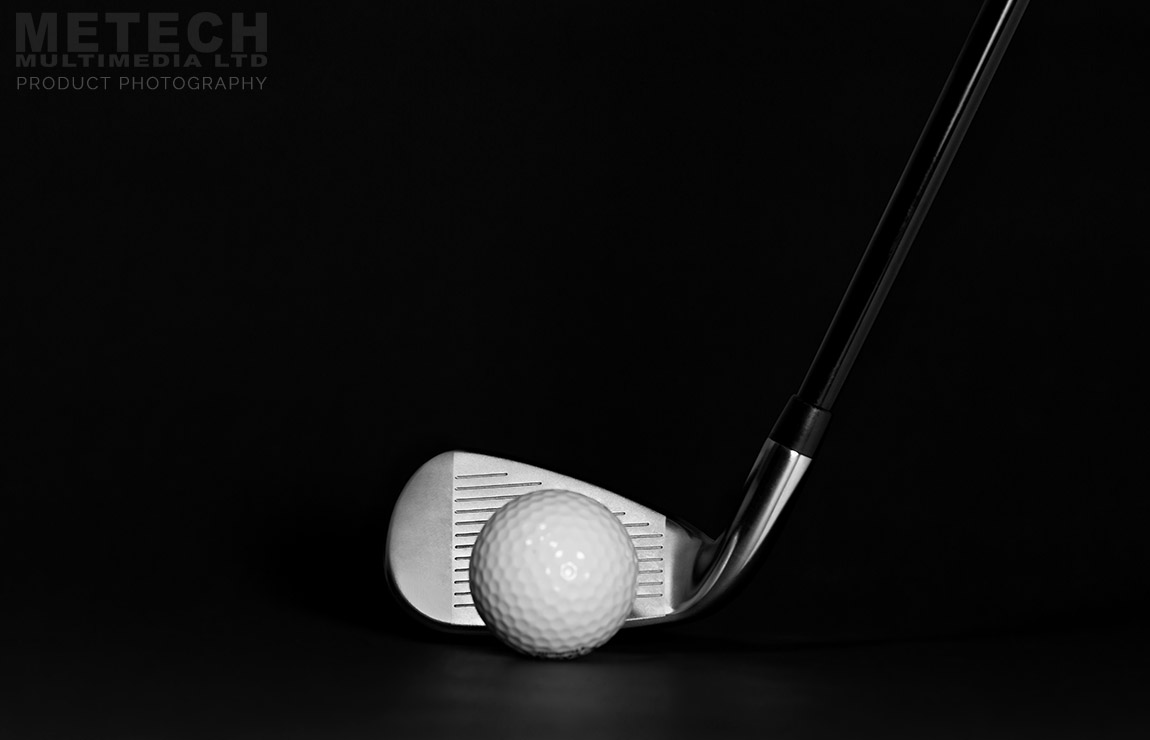
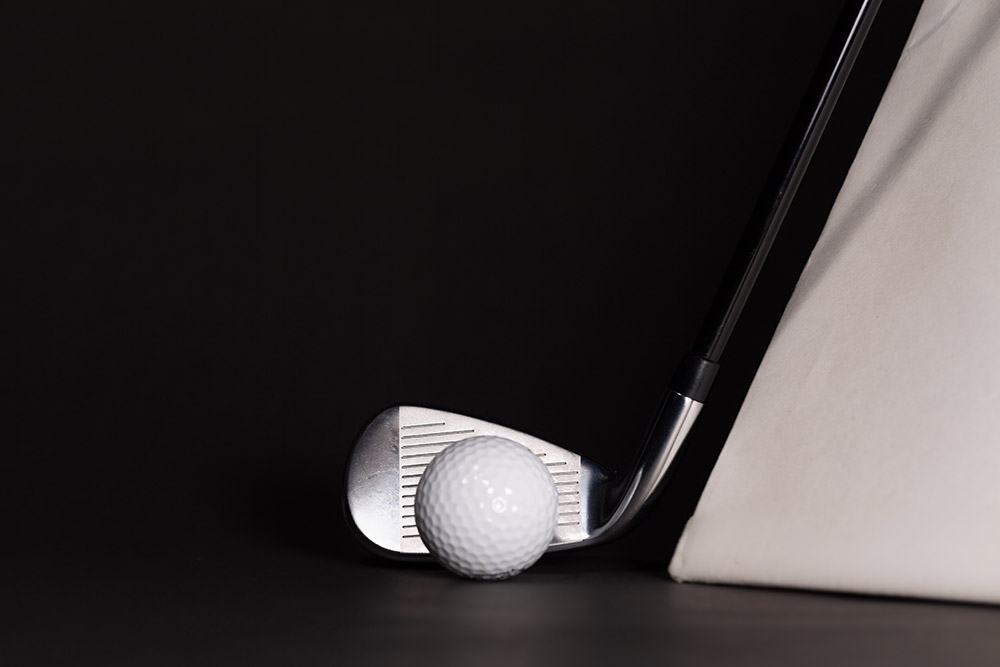
Above is the final image, however there is a fair few pictures combined, along with many edits in Lightroom and Photoshop to achieve the final result. Below are the various stages of producing the photograph ready for upload to stock photography web sites.
To see the other images uploaded in this Golf collection and also 200+ other stock images by Metech / Cian Houchin, visit the profile on the following Stock Photography web sites..
![]()
![]()
![]()
![]()
![]()
![]()
![]()
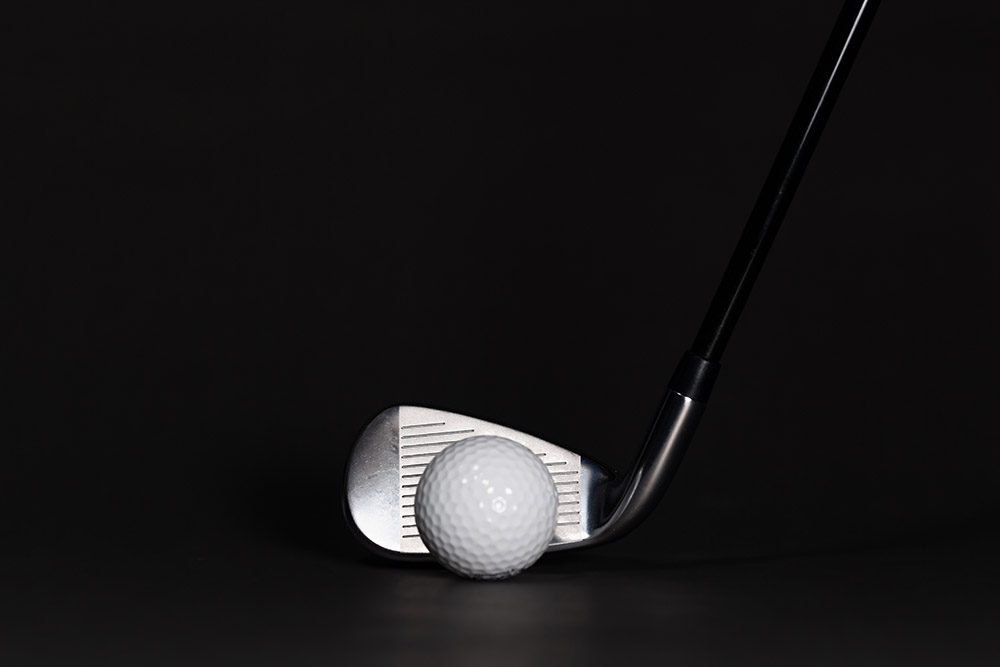
Shots 1 and 2 - I'll take two images, with one being very flat so I can mask bits out of it as I need when doing the Photoshop edits. All in all the main image is looking nice, however I can see the following issues that need correcting/enhancing.
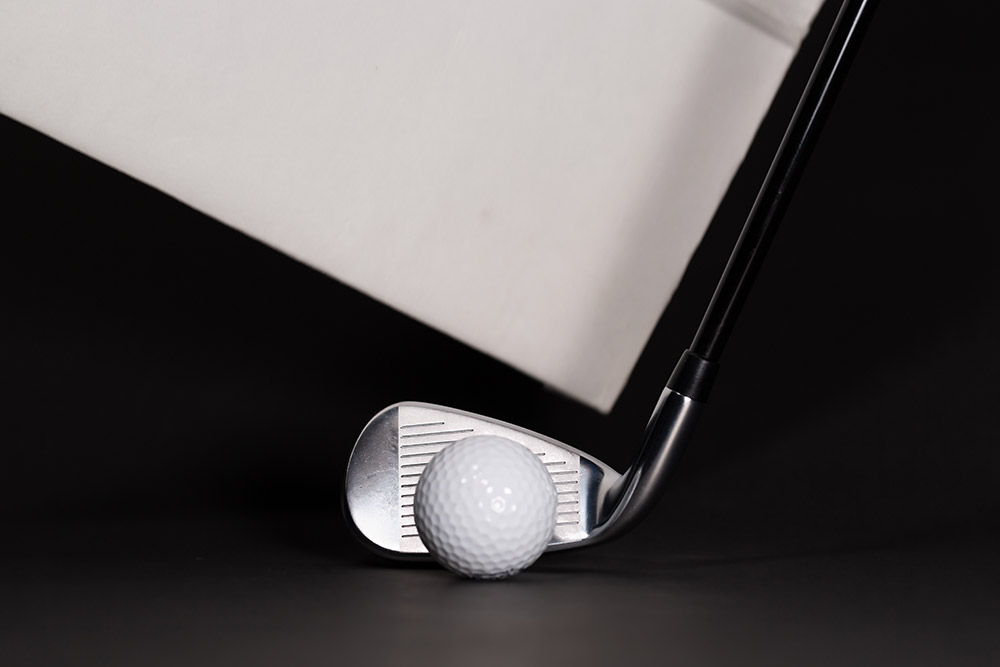
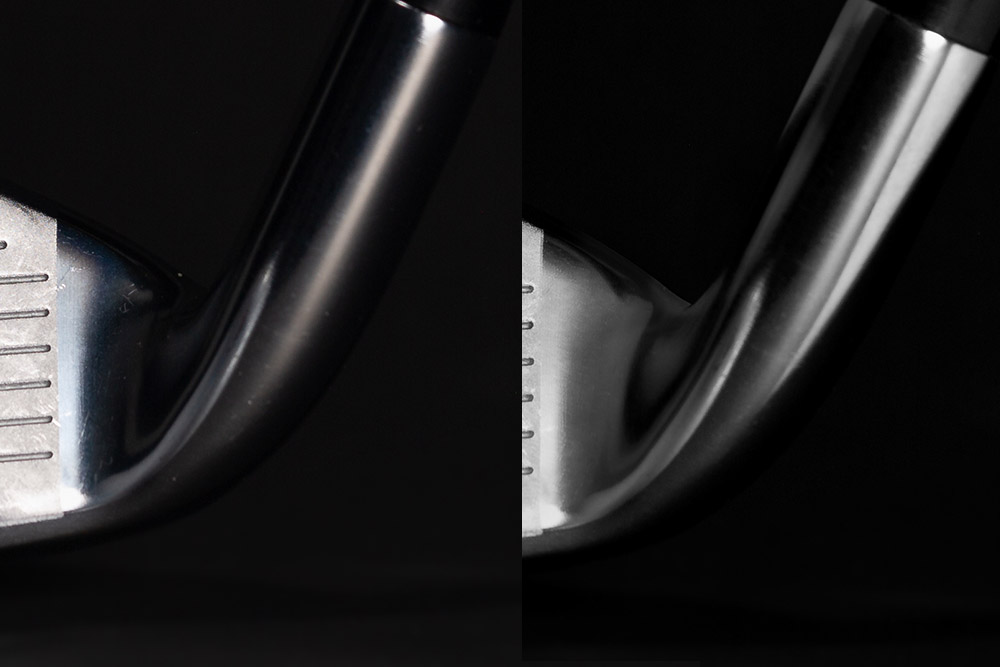
Shot 3 - The edge of the club shaft is not popping out from the background. I'll take a second shot holding some reflective white card from behind to give me that defined edge.
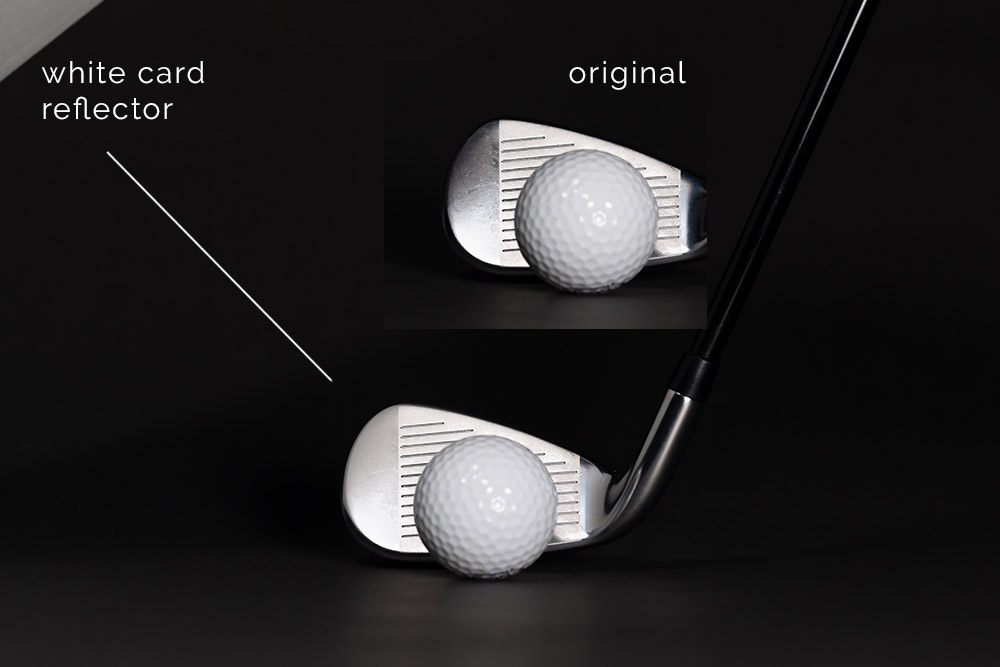
Shot 4 - The heal at the bottom of the shaft could do with some punch and also bring out the shape of that part of the club. I'll use the white card again to reflect some light at it.
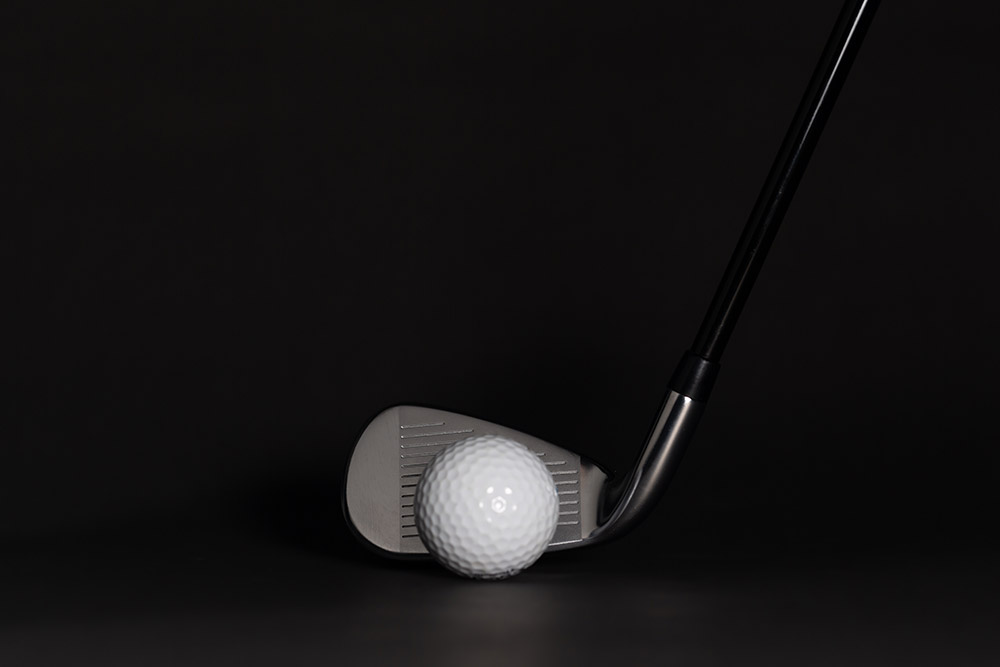
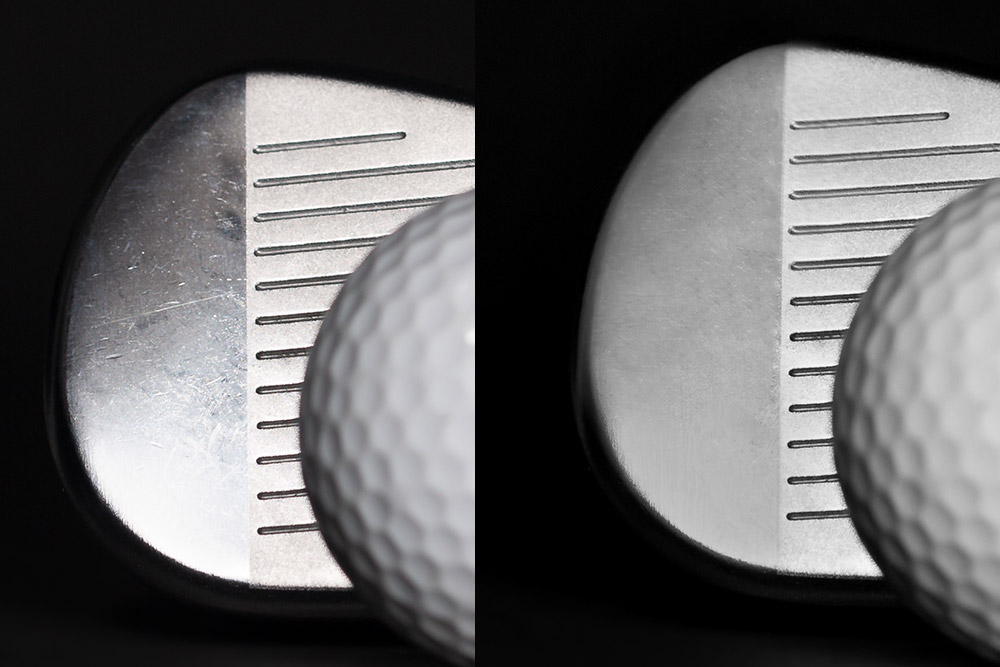
Shot 5 - The club face light is not even to the left of the image, but is fine for the middle. I'll bounce some light from the front to level it out, then get rid of the scratches and dents. Also, to the right of the ball, the dip in the club is too dark, so I'll pull that out as well with the reflector.
Shot 6 - This is a 'flat' photograph so I have options to use bits of it in the final edits.
Final edits included straightening the image a bit to the right, pulling the colour saturation out, bringing the background top to 100% black, levels adjustments and a ton of spot removal and cloning refinements.
Shots 1 and 2 - the original main shots
One vibrant and one flat, to give me options later.
Shot 3
Get the edge of the club to pop out by reflecting some light from behind

Shot 4
Using some white card I can reflect light from behind, giving the steel a some nice shine and also define the edge of the club.
Shot 5
The main part of the club face is ok but the left part is looking rough, so I'll reflect some light to flatten it and get rid of the sheen, which is also defining the left edge of that section. There's also issues with scratches and dents that need looking at.
To the right I want to put some light into the corner too.
Visit the Metech Product Photographer page for a variety of photographs produced for clients.